Anyway, here's a step by step to show you what I did - maybe you can use this inspiration to turn a much-loved beat-up item into an ego-boosting craft project.
(Nothing like a successful first attempt to boost the ol' self confidence...)

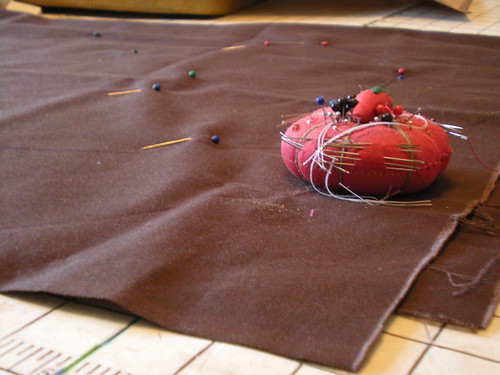
Supplies, originally uploaded by passitonplates.
Supplies:
The foam cushion,
the old cover (in blue, upper right),
heavy twill fabric in brown,
paper grocery bags,
a sharpie...
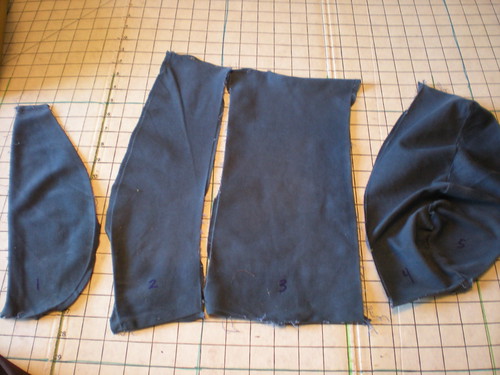
The old cover was methodically disassembled, originally uploaded by passitonplates.
The old cover was methodically disassembled.
Each piece was numbered so I knew how the new pieces needed to be sewn back together.
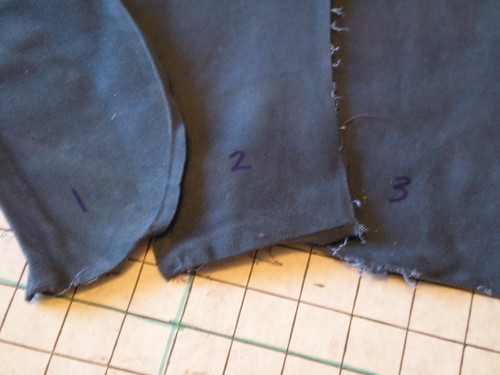
Anal retentive planning: If I didn't number the old pieces as I separated them, I would have ended up with a two-headed giraffe instead of a lumbar seat cushion.
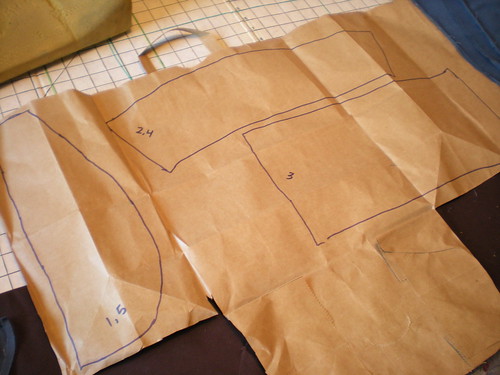
Making the new pattern, originally uploaded by passitonplates.

Laying out the pattern pieces, originally uploaded by passitonplates.
Laying out the pattern pieces.
Some of the pieces needed to have a little stretch to them to fit nicely around the foam form, so I cut them on the bias. Other pieces were cut straight.
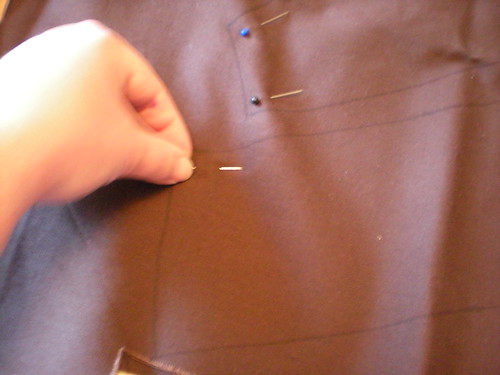
Everything needs to be pinned, originally uploaded by passitonplates.
Everything needs to be pinned.
I'd be frustrated if the fabric slipped while I was cutting it, so I pinned the fabric halves together beforehand.
Ready to cut, originally uploaded by passitonplates.
This is the pin cushion my mom used when I was a little kid. She sewed all my clothes when I was in kindergarten and first grade, made all of my many Halloween costumes, taught me how to sew, and helps me figure things out when I get in a jam.
She's the one who came up with the first bonnet-style PlateWrap prototype. Before the round cover with the elastic band, I was working on a quilt-like square thing that wrapped up the plate like it was a baby bunting. It was labor intensive, used a ton of fabric, and would have been priced way beyond reason. Mom's bonnet style cut way down on fabric and labor. Plus they're a lot easier to slip on the plate.
My mom is smart.
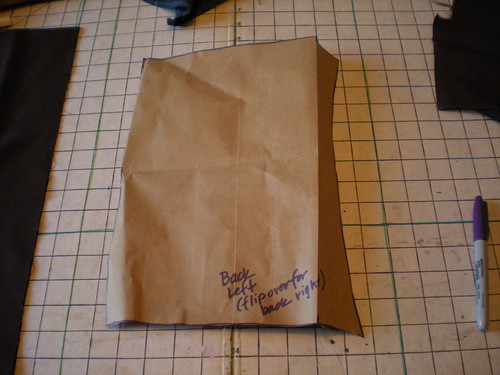
I wrote notes to myself on the pattern pieces, originally uploaded by passitonplates.
I wrote notes to myself on the pattern pieces.
If I hadn't, I would have been so confused when it was time to sew the pieces together.
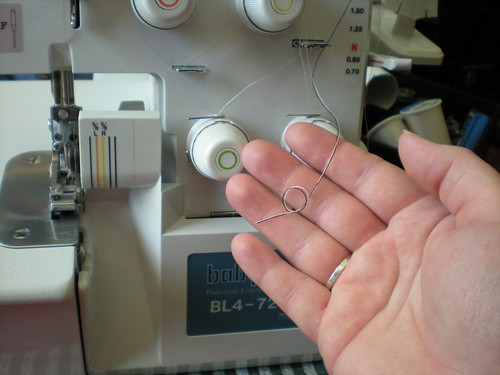
Changing thread colors, originally uploaded by passitonplates.
I know this doesn't have anything to do with the cushioin cover, but since it was part of this particular project, I wanted to show you what I needed to do.
To switch the threads, I snipped the white thread and tied it to the black thread...
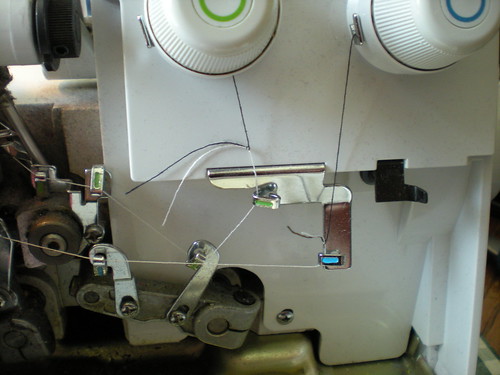
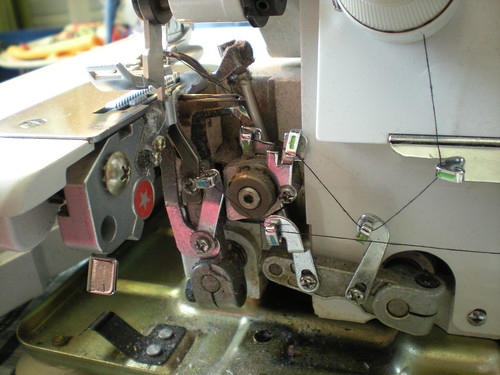
Draw the threads through the eyes, originally uploaded by passitonplates.
Slowly and carefully the threads were pulled though the eyes until they reached the eyes in the upper and lower arms ...
(Only the top two are needles; the bottom two are arms.)
Green green, blue blue, darnit. Where are the tweezers?, originally uploaded by passitonplates.
Green green, blue blue, darnit. Where are the tweezers?
This serger belonged to my very talented step mom, Judy, who quilted and made other beautiful things. When she passed away, my sister Sharon got the serger, but I'm lucky enough to be able to use it for the time being.
Every time I pull it out to use it, I break a thread and have to re-thread the darned thing. After a few failed attempts to get the threads threaded in the right order, I give up and pull out the How-To video that came with the machine. I watch the lady with the long fingernails thread her machine, rewind the tape 10 seconds (so it's ready for the next time I have to re-thread the beast machine,) ... then I go back to the sewing table and successfully re-thread this machine.
I always joke that the only headache Advil can't cure is what you see in this picture.
I now have 14 grey hairs because of this step ...
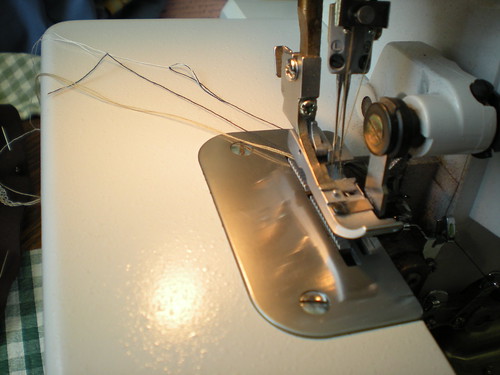
Thread's pulled through. Hope it works!, originally uploaded by passitonplates.
Thread's pulled through. Hope it works!
At this point I need to test to make sure the threads chain as they leave the presser foot. No chain means no stitch. No chain means un-thread everything and start over, trying to thread each color-coded set of eyes in the right order.
No chain means more grey hairs for me. I'm holding my breath as I press down on the pedal... Does it chain?

Whew - it chains!, originally uploaded by passitonplates.
Whew - it chains!
I think that's the first time I got this silly machine threaded right on the first try. (Without watching the video first.)
Probably because you were watching me do it.
Clean and masculine.

Use heavy paper for a stencil, originally uploaded by passitonplates.
You're going to love how easy it was to make this stencil.
1. I opened up a Word document and found a font I liked. I wanted to make sure it was heavy without a lot of fine detail so it would be easy to cut.
2. After typing the letter I wanted to stencil, I enlarged the font to the size I wanted to use, then test printed it on regular paper.
3. When I had the size just right, I put a sheet of card stock in my printer and printed the letter on it.
4. I couldn't find my exacto knife, so I put the paper on a kitchen cutting board, grabbed a sharp paring knife from the kitchen and traced over the letter outline with the point of the blade. (Is that cheating?)
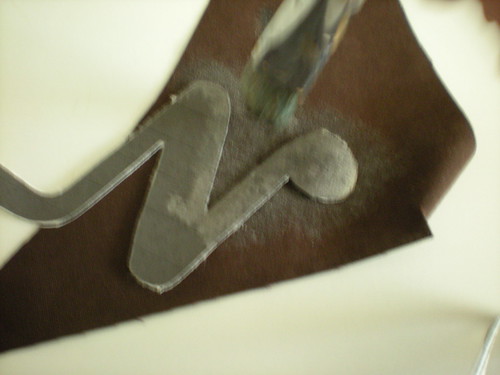
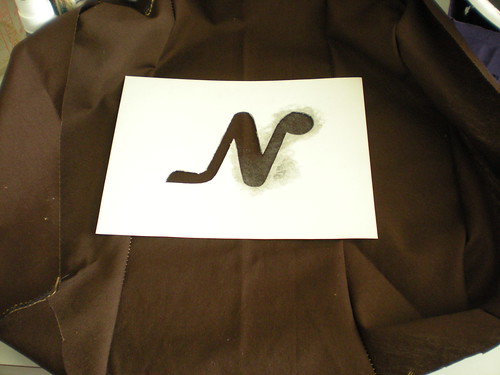
Testing the colors and technique, originally uploaded by passitonplates.
Now it's time to testing the colors and technique. I used the cut out N on a fabric scrap to make sure everything will turn out the way I see it in my head.
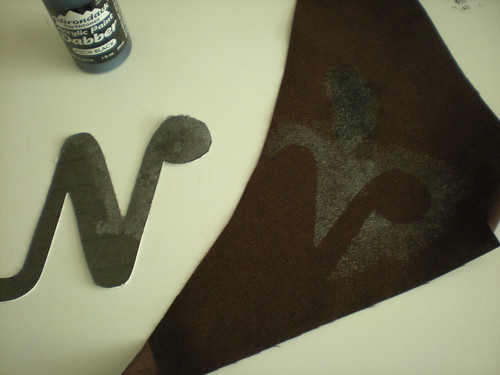
Subtle. That's perfect., originally uploaded by passitonplates.
Subtle. That's perfect.
Align the stencil and start dabbing and painting, originally uploaded by passitonplates.
Next I aligned the stencil and started dabbing and painting. This is just on the front piece. I didn't attach it to the back yet because it needed to lay flat while I painted it.
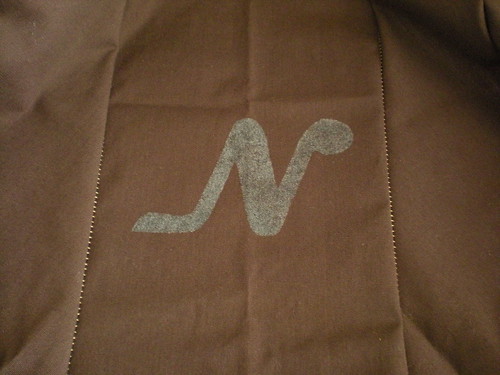
Stencilled "N", originally uploaded by passitonplates.
Here's the stencilled N.
Next, I sewed the back to the front, turned it right side out, fought to cram the cushion into the cover (quite a snug fit, which is what I wanted) and call dad to let him know it's ready. The tan stitching shows on all the seams, which looks tacky in the photo. When you look at it in person, the stitching actually adds to the charm and makes it look a little more rugged.

Dad loved it.
Did you like this post?
How about subscribing in a reader or by email? It's quick and easy.
.

No comments:
Post a Comment
We ♥ comments!