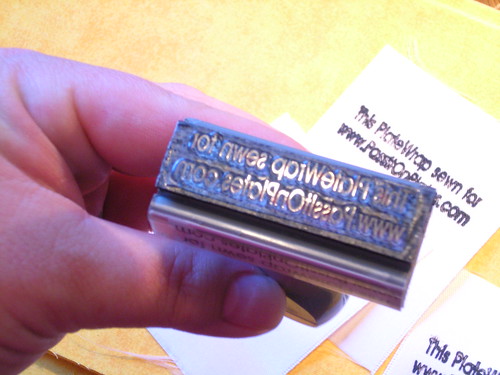
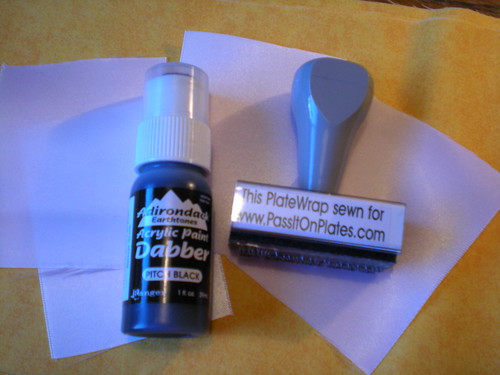
I used this dabber paint with a silicone stamp I'd had made earlier. The labels were 7" long strips cut from a spool of 3" wide white satin ribbon that I picked up at Michael's for about $4.
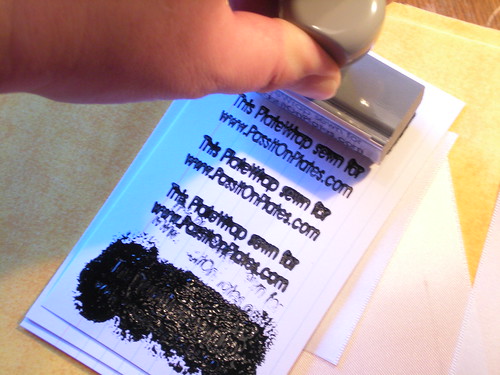
To make the labels, I just dabbed the paint onto an index card, then tapped the stamp into it. I practiced stamping on the index card to get a feel for how much paint to load onto the stamp so I didn't get blobby results on the ribbon.
Ok, it's a little blobby, but readable. And instead of being all anal retentive and picky about the results I reminded myself that this is a handcrafted item and small variations are part of the label's character and should be considered a natural part of the PlateWrap.
Or something like that. Basically I told myself,
"Self, you have got to relax and let it be."
Nifty, huh?

Silicone rubber stamp, originally uploaded by passitonplates.
Oh darn it, I didn't think to take pictures of the labels in the PlateWraps.
To finish the labels, I folded each one in half around the band that encircles the back side of each PlateWrap, and sewed them in place. I use a serger, so that binds the raw edges on the labels. It looks clean and nice.
If you get a Pass It On Plate or see a PlateWrap floating around out there, check and see if there's a nice wide satin ribbon label sewn inside. (Not all PlateWraps have these.)
Did you like this post?
How about subscribing in a reader or by email? It's quick and easy.
.


That stamp-thing looks so cool!
ReplyDeleteI like craft like this. It's definitely much nicer to recieve handmade stuff compared to bought stuff in the store-especially cards!